On this page you will find the steps I used to quickly create my new blog. This post has my affiliate links in it which means I earn a commission if you use them to sign up for a new account. I appreciate you using my affiliate links and I will be glad to help anyone that wants to get started with their own blog. If you have questions just use the contact page here on this site.
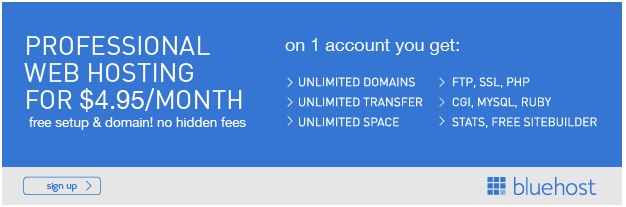
After clicking through the affiliate link I landed on the bluehost main page.
I clicked get started:

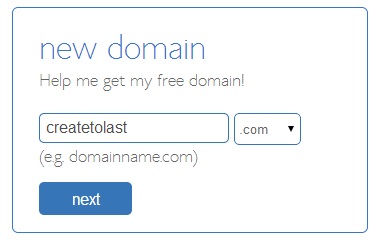
Then I entered the domain name for my site: createtolast.com
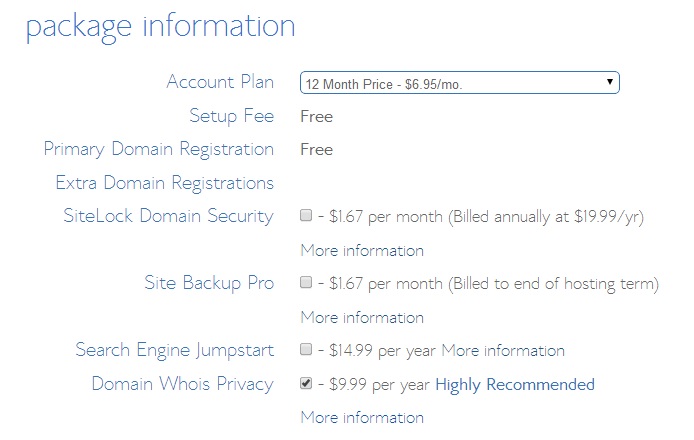
Next I entered my personal information and package information which you can see below.
I went with the 12 month plan because I’m not ready to commit to 3 years.
After entering my personal credit card info I clicked next was taken to a page with a list of upgrade options.
I did not select any of them.
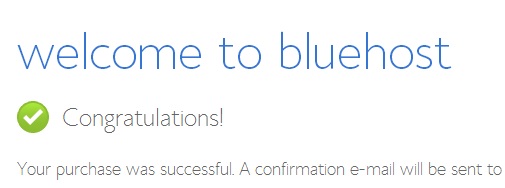
Finally I made it to the confirmation page.
It took me all of 2 minutes to get here!
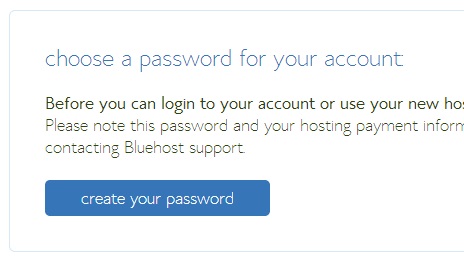
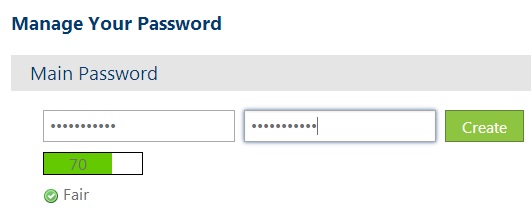
I clicked the create your password link to continue setting up my account.
After setting my password…
I was routed to the login page and I went ahead and logged into my new account.
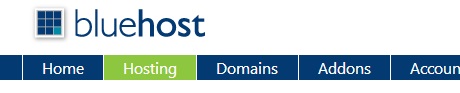
After signing in I was routed to a “Did you know page” which I ignored and went right to the hosting section at the top of the page:
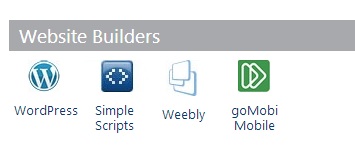
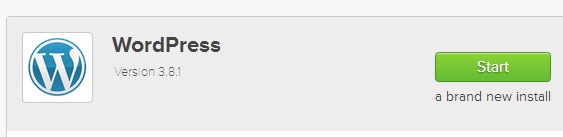
I scrolled down to website builders and selected WordPress:
I clicked start to begin a brand new installation of WordPress:
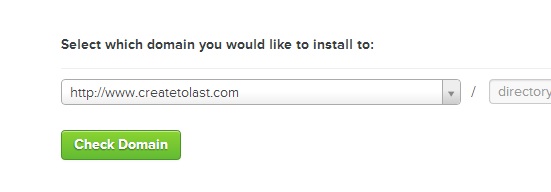
I made sure to leave the / directory box blank because I want WordPress installed directly into my domain vs a sub directory.
And then I clicked check domain.
I received the following notification that files exist in that location and that they may be overwritten if I proceed.
This is fine with me because it is a brand new domain and I have no files there.
I clicked continue.
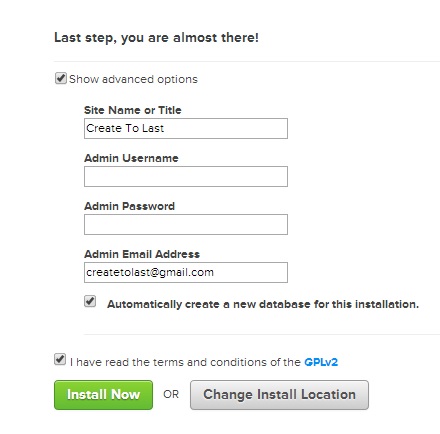
I then got to make a few configurations.
I selected show advanced options so that I could choose my own Site title, username, password, etc.
I also made sure to leave “Create a new database” selected.
Now WordPress was being installed.
I was routed a page about installing a theme. The alternative was “no thanks I’m a web designer” which is silly. Themes are free and easy to use. But I’d rather pick my own them later so I said no to this.
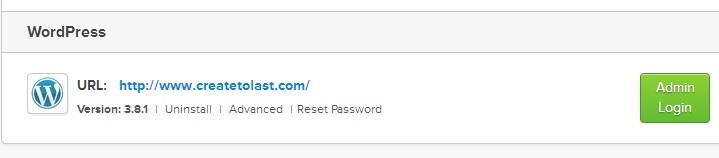
After 1 minute WordPress was done and my site was ready.
An email was sent to my account letting me know and I was ready to login using the credentials I created.
At this point my website was completely created, online and ready to use. The entire process took me less than 8 minutes!
I have a few other quick pointers so keep reading if you are interested.
I clicked the admin login button which just takes you to -> Yourdomainname.com/wp-admin
Logged in…
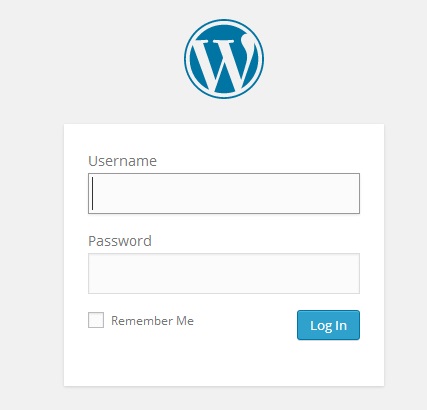
After login you are taken to the WordPress dashboard.
I wanted to make a few quick changes so I went to Appearance -> Themes and selected to activate the twenty twelve theme. I will be changing the theme again very soon (probably before you get to read this) but I like this theme better than the default.
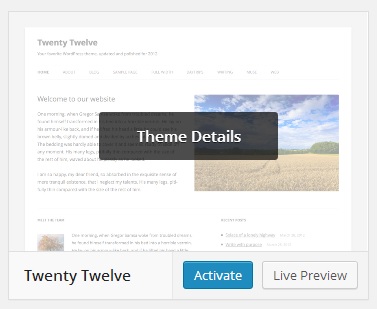
After activating this theme you can click customize to change your logo, colors and more. Its all very intuitive.
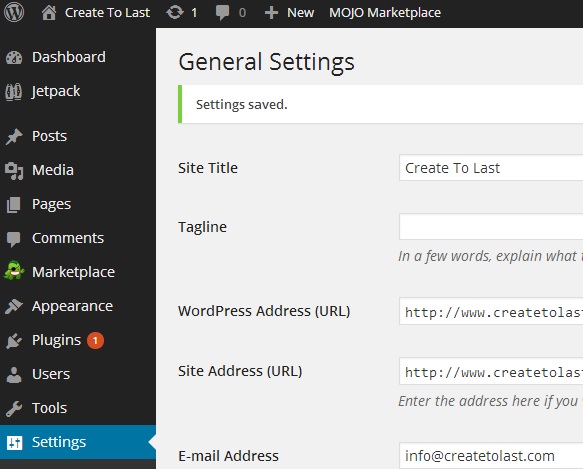
I also went to settings (lower left) -> General to change the title of my blog and tagline.
Now I’m ready!
You can start a blog in less than 8 minutes too.
If you are interested -> Start here!
Thanks for reading. If you have any questions just use the contact page on this blog.